
How to Use Thermal Imaging in Property Surveys
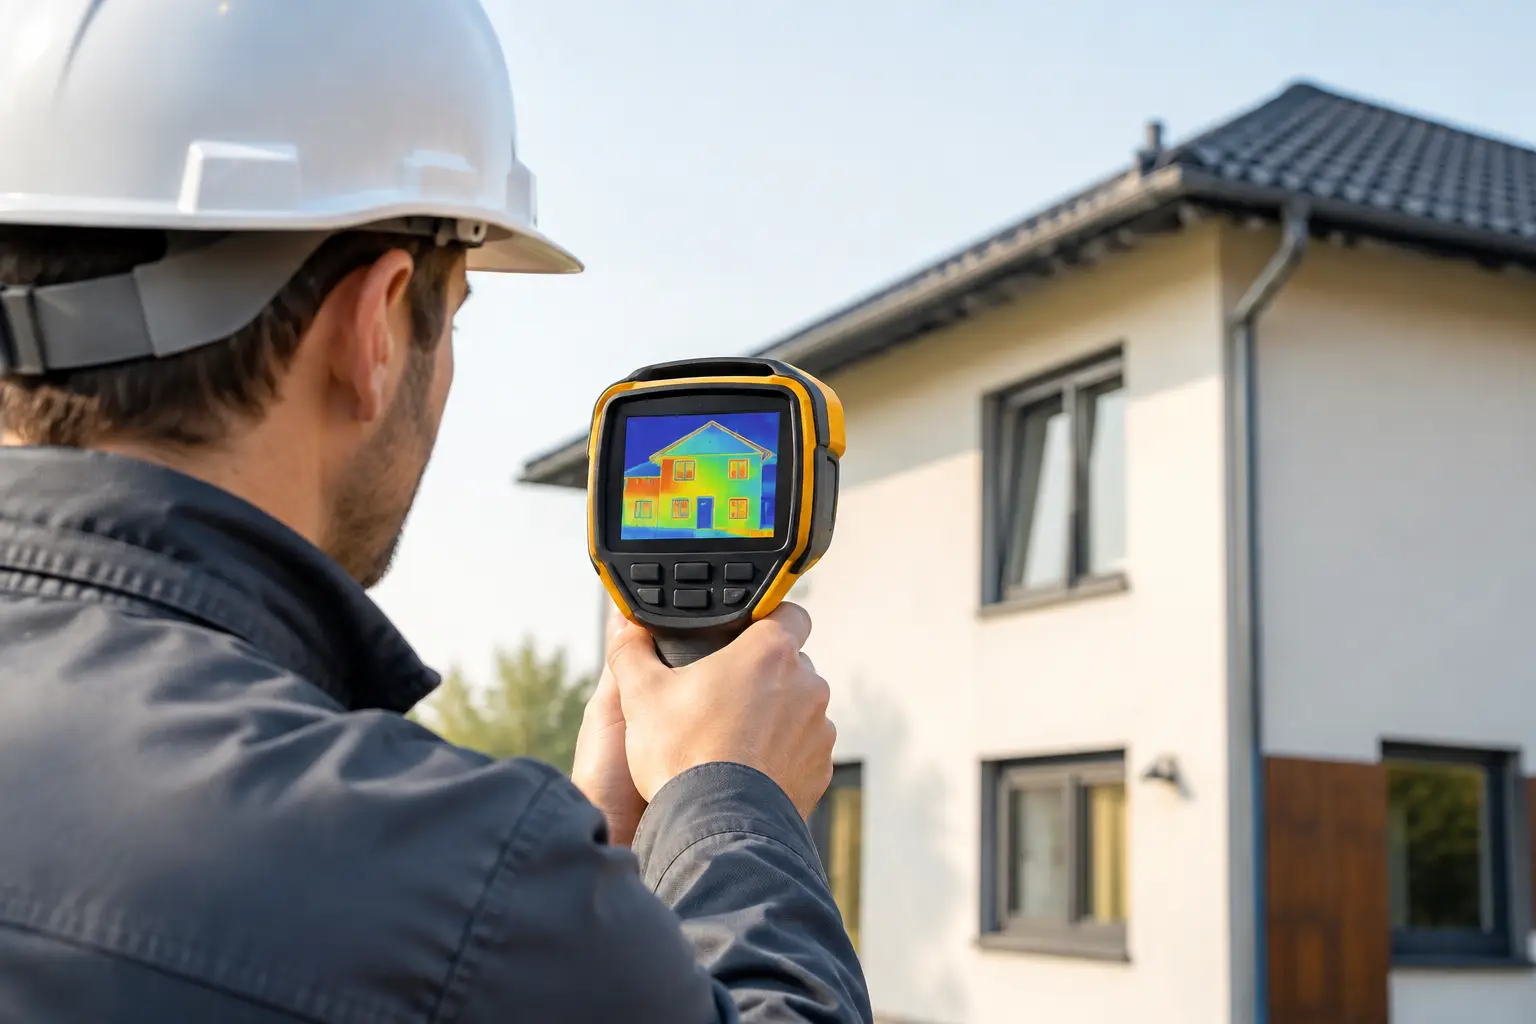
A cold patch beside a window, a damp-looking ceiling or an unexplained rise in heating bills can all point to a defect, but the visible evidence rarely tells the whole story. Knowing how to use thermal imaging properly helps identify temperature differences across a building, directing attention to areas that may need closer investigation before repairs, purchase or renovation.
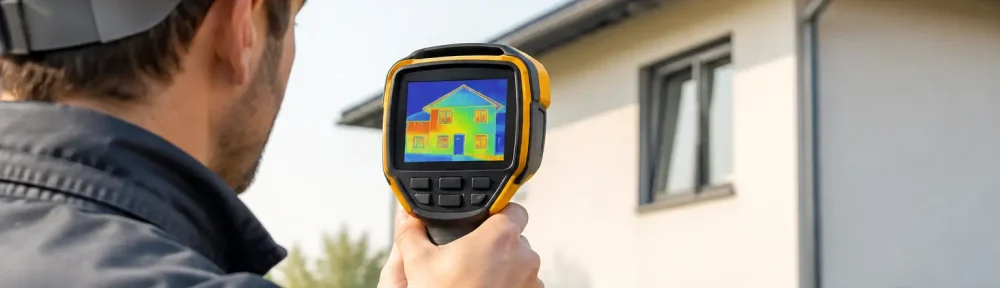
A thermal camera does not see damp, leaks or insulation directly. It records infrared radiation and displays surface temperatures as colours or shades. That distinction matters. Used in suitable conditions by an experienced surveyor, thermal imaging can be a highly effective diagnostic tool. Used without context, it can produce misleading images and expensive assumptions.
What thermal imaging can reveal in a property
Thermographic inspection is particularly useful where a defect is hidden behind finishes, within roof voids or beneath floors. Rather than removing plasterboard, lifting carpets or opening up ceilings immediately, a surveyor can use temperature patterns to target further inspection.
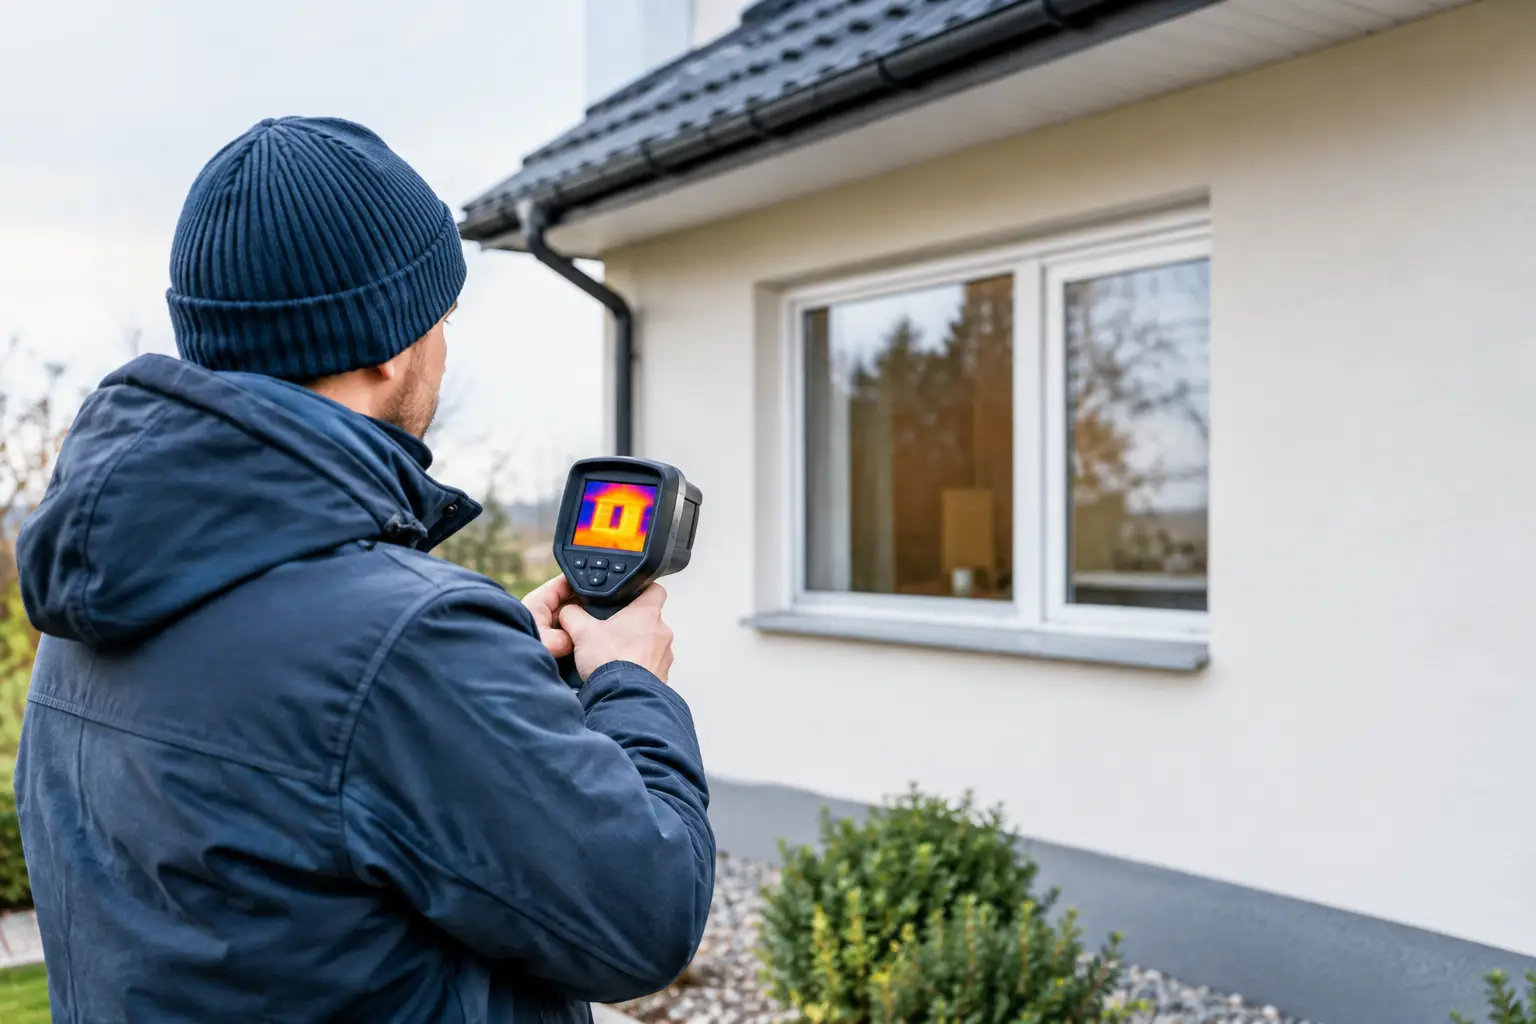
In residential buildings, thermal imaging is commonly used to investigate heat loss around external walls, windows, doors and loft hatches. It can help locate missing, poorly fitted or disturbed insulation, as well as air leakage around service penetrations and junctions between building elements.
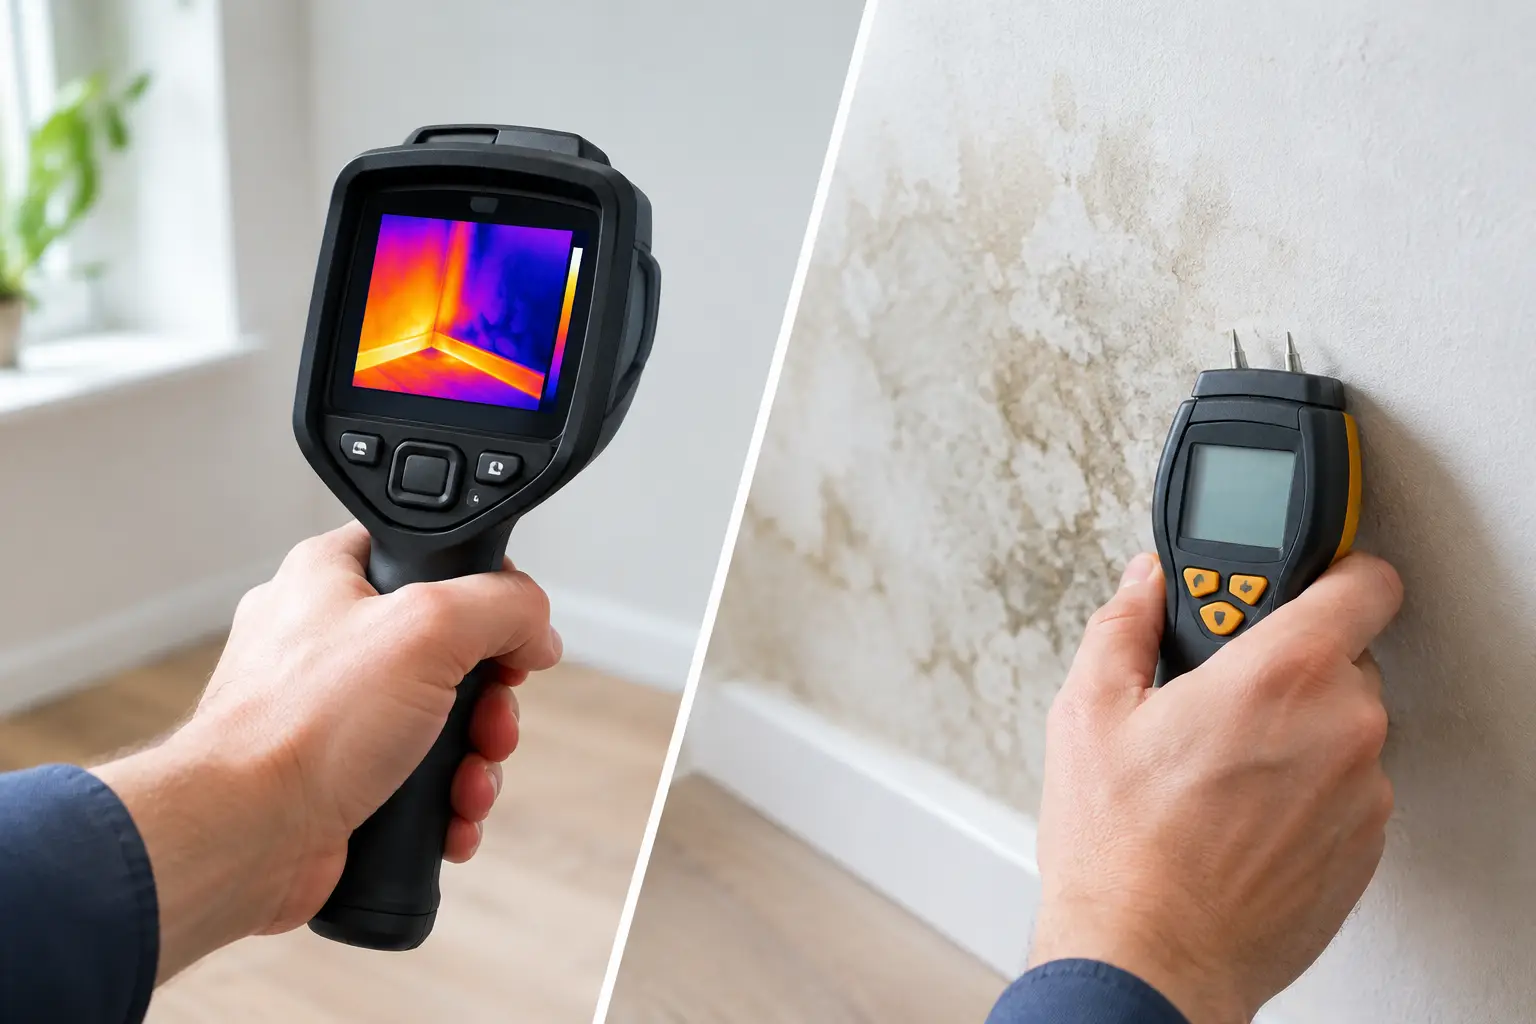
It can also support moisture investigations. Evaporation from a damp surface often lowers its temperature, meaning an area affected by a plumbing leak, penetrating damp or condensation may appear cooler than surrounding materials. However, a cold area is not proof of moisture. Solid masonry, metal fixings, shadowing and outside weather conditions can create similar patterns.
Other useful applications include tracing parts of underfloor heating systems, checking whether radiators are heating evenly, identifying potential electrical overheating and assessing thermal bridges. A thermal bridge is a route through which heat passes more readily, often at lintels, concrete floor edges, steelwork or poorly insulated junctions.
How to use thermal imaging for a reliable inspection
The camera is only one part of the process. A credible thermographic survey begins with an understanding of the building, its construction and the issue being investigated.
Start with a clear question
Before taking an image, establish what needs to be investigated. Is there suspected heat loss in a bedroom? Is staining beneath a bathroom linked to an active leak? Has a loft conversion created insulation gaps? A focused question determines where to inspect, what conditions are required and whether thermal imaging is the most appropriate method.
The age and construction of the property also affect interpretation. A Victorian solid-wall house behaves differently from a modern cavity-wall dwelling. Timber-frame walls, flat roofs, rendered elevations and extensions can each create temperature variations that require different expectations and checks.
Create the right temperature difference
For external heat-loss inspections, there normally needs to be a meaningful temperature difference between indoors and outdoors. A difference of around 10°C is often a useful working benchmark, although the exact requirement depends on the building and the purpose of the survey.
In practice, this usually means carrying out the inspection during colder weather, with the heating operating normally beforehand. The property should be reasonably stable thermally. Opening windows shortly before the visit, using portable heaters in one room or having a fire burning can distort results.
External surveys are best performed when surfaces are dry and free from direct sunshine. Sun can warm brickwork, roof coverings and render unevenly, masking genuine heat loss or creating false hot spots. Rain and strong winds can also affect surface temperatures, so weather conditions should form part of the survey record.
Scan methodically, then inspect closely
A surveyor should scan the property in a planned sequence rather than chasing colourful images. Internal checks often start at external walls, openings, ceilings, floors and known junctions. External checks can then compare elevations, roof areas and openings where access and conditions allow.
An unusual thermal pattern should be viewed from more than one position and, where possible, from both sides of the building element. The surveyor should consider likely heat flow, construction details and sources of interference. For example, a vertical cold line may be a gap in insulation, but it may also be a timber stud, a masonry joint or a downpipe cooling the external wall.
The camera settings must also be appropriate. Emissivity, reflected temperature, distance and surface finish can affect readings. Shiny surfaces such as metal, tiles and glass are especially difficult because they reflect surrounding temperatures. A warm-looking window may simply be reflecting a radiator or the surveyor’s body heat, not showing a fault.
Verify findings with other evidence
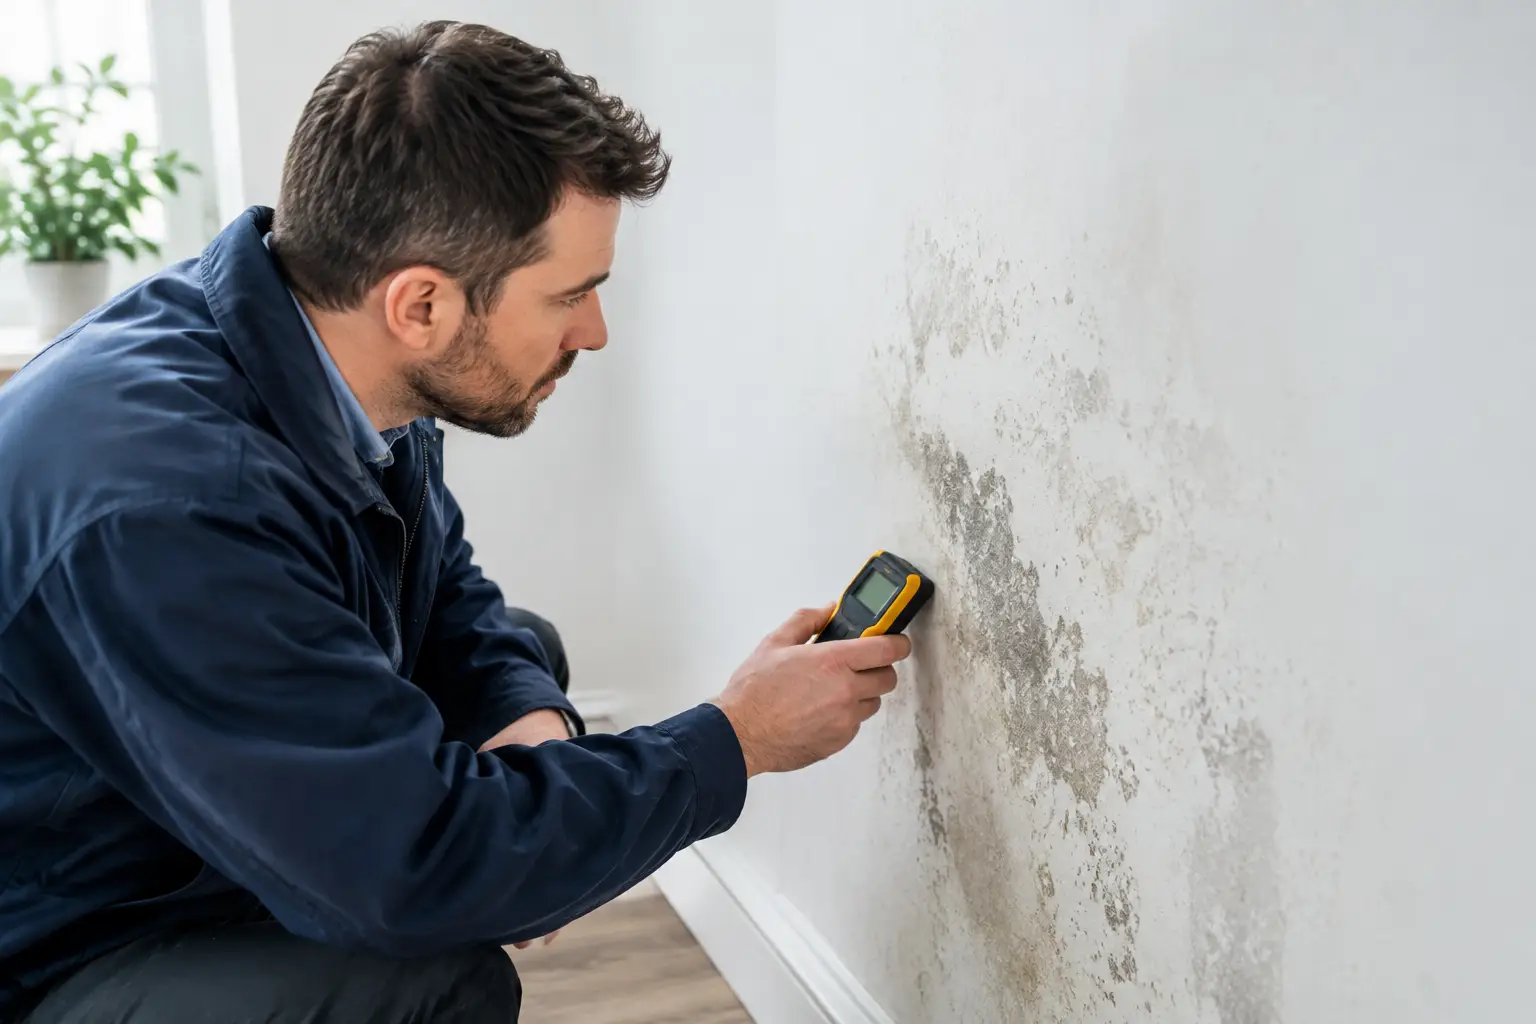
This is the stage that separates a useful building diagnosis from a dramatic image with no practical value. Thermal results should be compared with visual observations, moisture meter readings where appropriate, humidity measurements, ventilation conditions and the building’s history.
If a cool ceiling area is found beneath a bathroom, further checks may include plumbing use, accessible pipework, visible staining, moisture profiles and inspection above the ceiling. If a wall shows heat loss, the next question is whether the cause is insulation failure, air movement, construction type or simply a known structural junction.
Where the evidence suggests a concealed defect, targeted opening-up may still be necessary. Thermal imaging can reduce unnecessary disruption, but it cannot always remove the need for physical verification.
Common mistakes to avoid
The most common error is treating every colour difference as a defect. Thermal palettes are designed to make differences visible, often exaggerating what may be a small change in surface temperature. The image must be read alongside numerical values, site conditions and building knowledge.
Another mistake is surveying at the wrong time. External elevations warmed by the sun, wet roofs after rainfall and rooms recently heated or cooled unevenly may all produce unreliable results. A poor-quality survey can result in missed defects, or recommendations for work that is not needed.
Homeowners should also avoid relying on low-cost thermal attachments as a diagnostic answer on their own. They can be useful for basic checks, such as spotting a noticeably cold draught around a door, but their resolution and measurement accuracy may be limited. More importantly, the interpretation is still the difficult part.
Finally, thermal imaging should not be used to provide certainty where conditions do not support it. A competent report will explain limitations, state whether findings are indicative or confirmed, and recommend proportionate next steps.
When a professional thermographic survey is worthwhile
A professional inspection is particularly valuable before committing to costly repairs or when a property issue is disputed. Buyers may use it to investigate concerns identified during a viewing or building survey, especially in homes with visible mould, cold rooms, roof alterations or signs of water ingress.
For homeowners and landlords, it can help prioritise insulation upgrades, investigate recurring condensation, assess suspected leaks and establish whether repairs have addressed the original issue. Developers may use thermography as part of snagging or quality-control checks, particularly around insulation continuity and building envelope performance.
It is also useful in claims, warranty matters and disputes, although the report must be clear about the scope of inspection and the limits of thermographic evidence. Where formal decisions depend on the cause of a defect, thermal images should support a wider building inspection rather than stand alone.
A useful report should identify the areas inspected, environmental conditions, equipment used, relevant images, observations, likely causes and recommended actions. It should distinguish between urgent risks, further investigations and sensible maintenance. That gives property owners something more valuable than an image: a clear basis for deciding what to do next.
Using thermal imaging to make better property decisions
Thermal imaging is at its best when it answers a practical property question. It can show where heat appears to escape, where moisture may be affecting a surface or where a hidden issue deserves attention. It cannot, by itself, diagnose every defect or replace sound surveying judgement.
If a concern could affect a purchase price, repair budget, tenant safety or planned renovation, arrange a thermographic inspection that considers the whole building and provides clear, evidence-led recommendations. A qualified surveyor can turn an unusual thermal pattern into a proportionate next step, helping you spend money on the right investigation or repair rather than the first plausible explanation.