
How to Document Construction Defects Properly
A hairline crack beside a window, water staining below a new roof detail or uneven flooring may look minor at first. If the condition worsens, the question quickly becomes not just what is wrong, but when it appeared, where it is located and what evidence supports your position. Knowing how to document construction defects properly creates a reliable record for repairs, warranty claims, negotiations and, where necessary, formal dispute resolution.
Good documentation is not about taking the greatest number of photographs. It is about building a clear, dated and factual evidence trail that allows a contractor, surveyor, insurer or adjudicator to understand the defect without guesswork. Start early, record consistently and avoid allowing a verbal promise to become the only record of an agreed repair.
Start with a clear defect record
Create a separate entry for each issue rather than grouping every concern under a broad heading such as “poor workmanship”. Give each entry a reference number, a precise location and the date you first noticed it. For example, “DEF-07: water ingress to plasterboard ceiling, rear bedroom, below valley junction, first observed 14 October”.
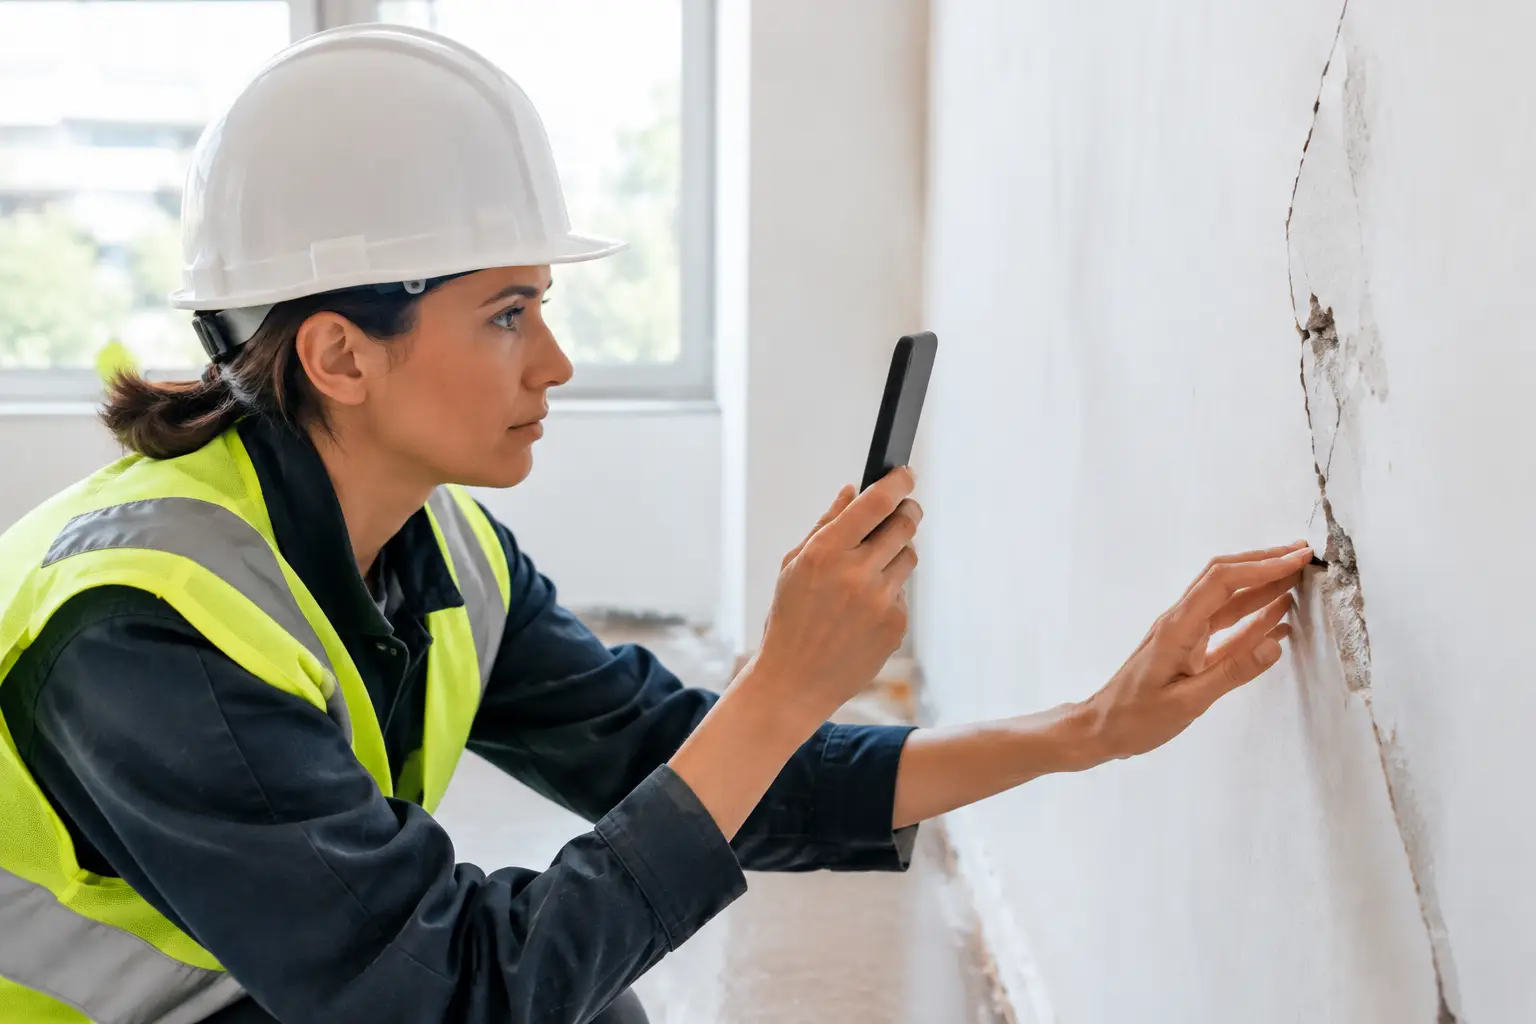
Then describe what can be seen, heard or measured. Keep this section factual. “Crack approximately 1.5 mm wide running diagonally from the top right corner of the window opening” is stronger than “serious crack caused by poor building work”. The latter may ultimately be correct, but it is a conclusion that should be supported by inspection evidence.
Record the following details for every defect:
- the property address, room, elevation or external area;
- the date and time it was identified, plus the weather conditions where relevant;
- a plain description of the defect and the materials affected;
- its extent, using measurements where possible;
- the likely impact, such as active leakage, safety risk, reduced weather resistance or restricted use; and
- the action taken, including who was notified and their response.
This approach is especially valuable on new-build homes and refurbishment projects, where many defects may be present at once and responsibility can pass between developer, main contractor, subcontractor and warranty provider.
Photograph construction defects with context
Photographs are often the most persuasive part of a defect file, but only when they tell a coherent story. Take a wide image first to establish the room, elevation or roof area. Follow this with a mid-range photograph that shows the affected element, then a close-up that captures the detail. A crack, gap or failed sealant joint is difficult to assess in isolation if the viewer cannot tell where it sits within the building.
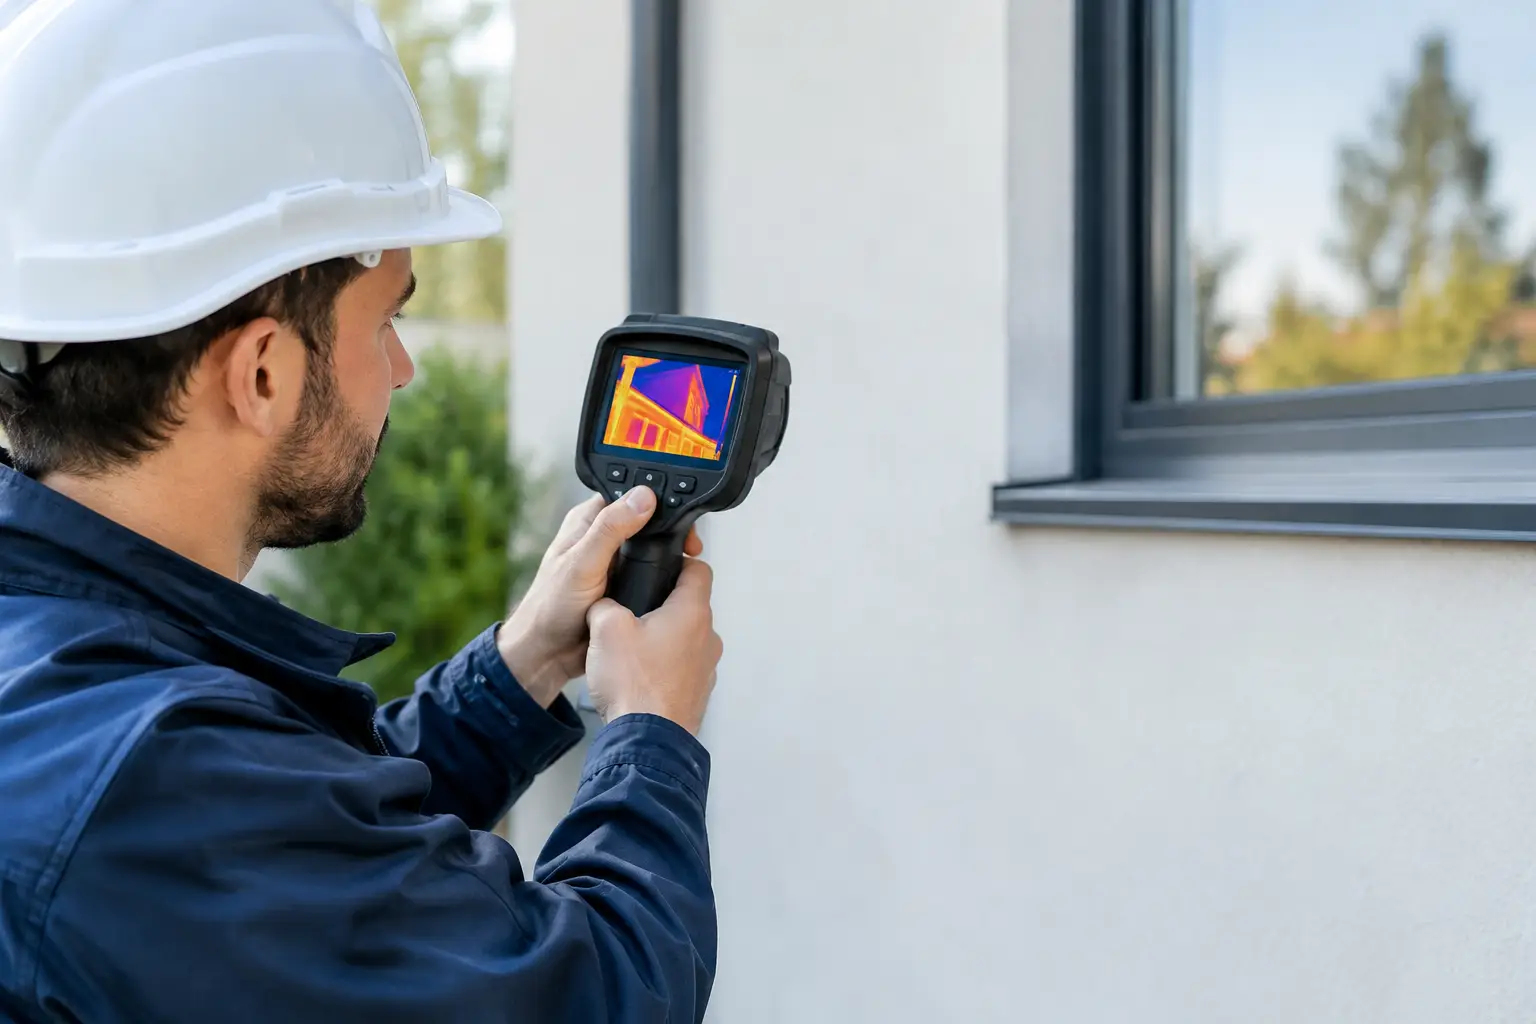
Use good natural or artificial light and keep the camera steady. For close-ups, include a ruler, tape measure or other scale. Photograph a measuring tool clearly enough for the reading to be visible. Where a defect is high-level or inaccessible, do not take risks with ladders, roofs or loft spaces. A qualified surveyor can inspect difficult areas safely and use appropriate access equipment, moisture testing or thermal imaging where the circumstances justify it.
Do not edit images in a way that changes their meaning. Cropping to improve clarity is usually reasonable, but retain the original files with their date information. Label copies logically, such as “DEF-07-03 rear bedroom ceiling close-up”. A simple folder structure prevents confusion when evidence is needed months later.
Use video and measurements where they add value
A short video can be useful for defects that are difficult to explain in a still image. This may include a bouncing floor, rattling roof component, leaking pipework, doors that bind or water entering during rainfall. Begin the recording by stating the date, location and what the video shows. Keep it brief and avoid commentary that speculates about blame.
Measurements can turn an observation into evidence. Note crack width, moisture meter readings, floor level variations, roof falls, dimensions of incomplete work and the distance between movement cracks. Repeat the same measurements at intervals if movement or dampness is suspected. The trend matters: a stable crack may call for monitoring, while a widening crack needs more urgent professional assessment.
Consumer moisture meters should be treated cautiously. Readings can be influenced by salts, surface finishes and the material being tested. They can indicate where further investigation is needed, but they do not independently diagnose the source of moisture. In the same way, a thermal image can highlight temperature variation but requires informed interpretation before it is presented as proof of insulation failure or water ingress.
Preserve the paper trail
A construction defect is rarely resolved by photographs alone. Keep copies of the contract, drawings, specification, quotation, variation orders, invoices, completion certificates and warranty documents. These records show what was agreed, what standard of work was expected and whether an item was included within the scope.
Put communications in writing wherever possible. After a telephone conversation, send a short email confirming what was discussed: the defects raised, the proposed attendance date and any commitment to carry out remedial work. This is not confrontational. It is a sensible way to avoid later disagreement about what was said.
If you notify a builder or developer, identify the defect references and attach selected photographs. Ask for a written response, proposed remedy and timescale. Allow a reasonable opportunity to inspect and rectify the issue unless there is an immediate safety concern or active damage that requires emergency action. In some cases, arranging repairs without notice can make it harder to establish the original condition or recover costs.
Keep a dated chronology
A chronology brings the evidence together. It may be a spreadsheet, a document or a dedicated project record, provided it is maintained carefully. List the date, the event, the person involved, the defect reference and the supporting file name.
For example, your record might show that a leak was first reported on 4 November, inspected by the contractor on 8 November, temporarily patched on 10 November and reappeared after heavy rain on 23 November. That sequence is far more useful than a folder of unlabelled photographs.
Include missed appointments, incomplete repairs and any further damage. Also record reasonable mitigation, such as protecting contents from a leak or isolating an unsafe electrical fitting. Keep receipts for emergency works, but make sure the work is proportionate to preventing further loss rather than an unagreed permanent solution where responsibility remains contested.
When an independent report is needed
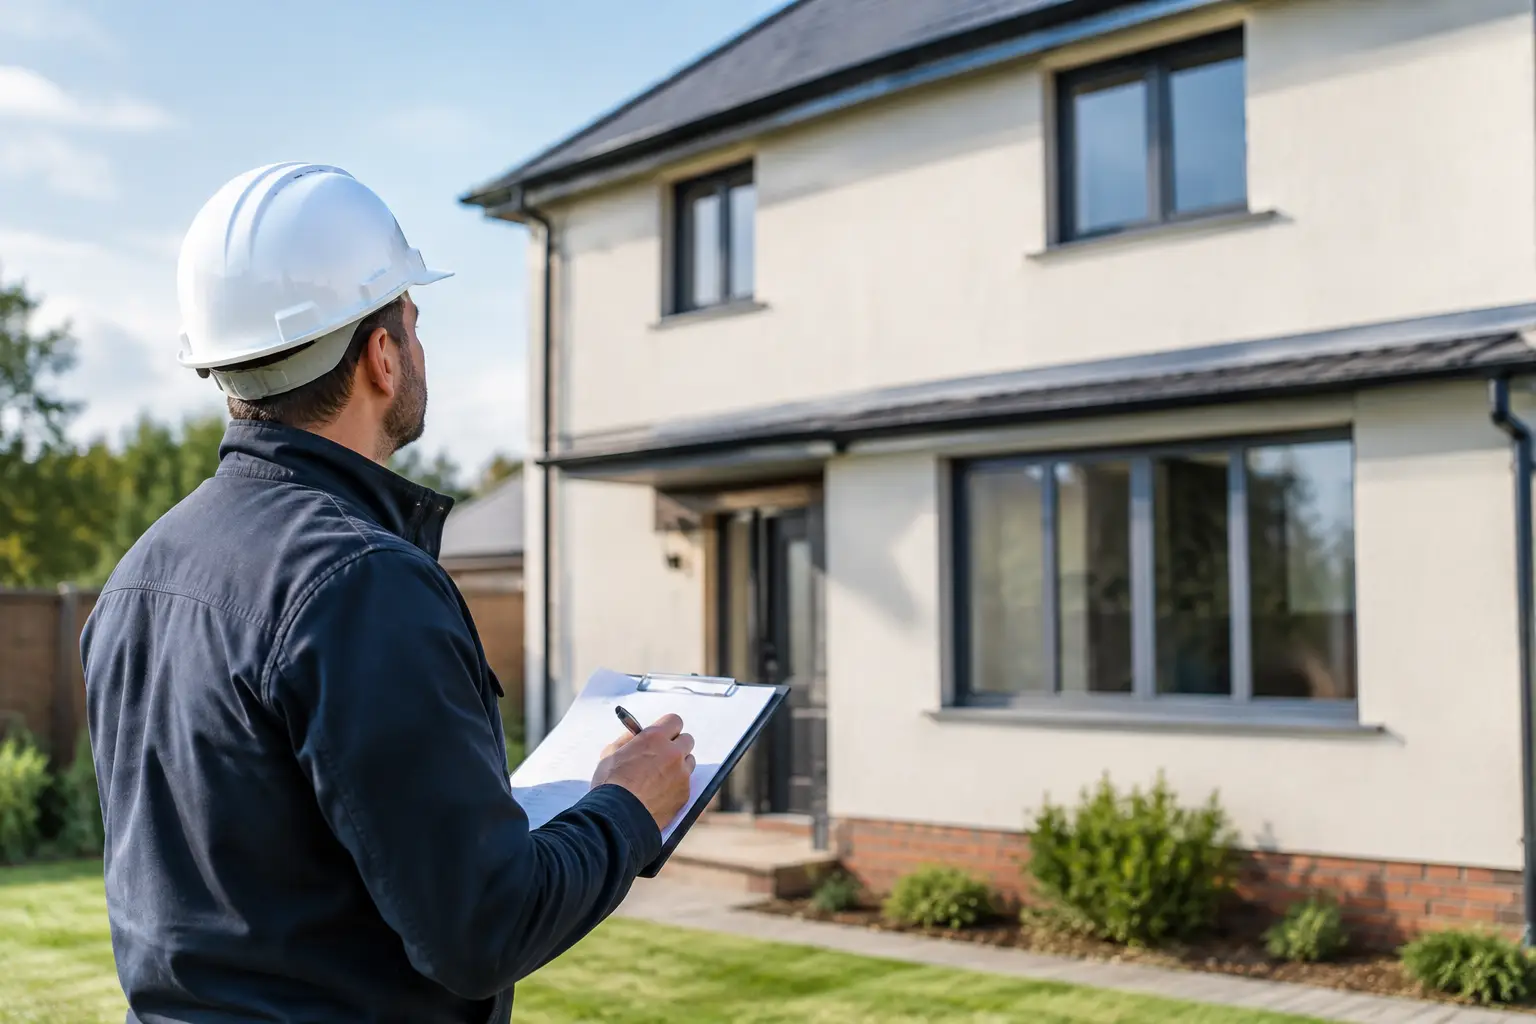
Some defects are obvious, while others require diagnosis. Persistent damp, structural cracking, roof leaks, defective cavity trays, uneven floors and thermal performance concerns can have several possible causes. A formal inspection report from a qualified building professional can distinguish visible symptoms from the likely mechanism of failure and set out proportionate repair recommendations.
Independent reporting is particularly useful where the contractor disputes liability, the repair proposal appears inadequate, the defect affects a purchase decision or a claim is being made under a warranty or insurance policy. The report should identify the inspected areas, explain the observed condition, state any limitations and separate confirmed findings from matters requiring further opening-up works or specialist investigation.
At HICH, building inspections are designed to provide practical defect analysis, clear reporting and repair-cost awareness, helping property owners and stakeholders make decisions on evidence rather than assumption. The right inspection scope depends on the issue. A snagging survey may suit a new property with multiple finish and installation concerns, while a structural, roof or thermographic survey may be more appropriate for a specific failure.
Avoid the mistakes that weaken evidence
The most common problem is waiting too long. Fresh photographs, contemporaneous notes and prompt written notification carry more weight than a recollection recorded after relationships have broken down. Another mistake is relying on general statements such as “the extension is leaking everywhere”. Identify the exact locations and conditions in which the problem occurs.
Avoid attributing fault before there is sufficient evidence. Construction defects may arise from design, workmanship, unsuitable materials, building movement, lack of maintenance or a combination of factors. A measured record protects your credibility and gives any appointed expert a sound basis for investigation.
Finally, do not let the desire for evidence create further risk. If there is suspected structural instability, exposed electrical wiring, significant water ingress, loose roof coverings or asbestos-containing material, prioritise safety and obtain appropriate professional advice.
A well-organised defect record gives you more than photographs for a complaint. It gives you a practical foundation for a repair plan, a fair conversation with the responsible party and a clearer route forward when the condition of your property needs proper attention.