
The Best Ways to Find Damp in Your Property
A dark patch behind a wardrobe, flaking paint beside a window or a persistent musty odour can all point to damp – but none tells you, on its own, what is causing it. The best ways to find damp combine careful observation with proper moisture testing and an inspection of the building fabric. That matters because treating the visible stain without addressing the source can leave you paying for the same repair twice.
For buyers, homeowners and landlords, early identification protects both the property and the budget. Damp can damage plaster, timber, insulation and finishes, while prolonged moisture may create conditions for mould growth. The right approach is not simply to ask whether a wall is damp, but where the moisture is coming from, how long it has been present and what repair is required.
Start with the signs you can see and smell
Begin indoors, room by room, particularly around external walls, chimneys, windows, bathrooms, kitchens and any area below a roof slope. Damp does not always present as a large wet patch. In many homes, the first evidence is subtle: a faint tide mark, bubbled paintwork, crumbling plaster at low level or wallpaper lifting at a joint.
A musty odour is also worth investigating, especially in cupboards, behind furniture, under stairs and in rarely ventilated rooms. Move items away from outside-facing walls where practical. Restricted airflow can encourage surface condensation, but it can also conceal a defect that has been developing behind a wardrobe or sofa.
Look closely at the pattern. Condensation-related mould commonly appears as black spotting around cold corners, window reveals and behind furniture. Penetrating damp is more likely to form a localised patch that worsens after rain, often near a chimney breast, roof junction, window opening or defective rainwater goods. A horizontal stain near the base of a ground-floor wall may need investigation for ground moisture, bridging or other defects, rather than an assumption that it is rising damp.
Check when the problem changes
Timing often provides one of the clearest clues. Record whether marks become darker after heavy rain, during cold weather or after bathing, cooking and drying clothes indoors. This simple information helps distinguish between different moisture sources.
If the issue is noticeably worse after rainfall, inspect the route water could take from roof level downwards. Leaking gutters, blocked downpipes, cracked render, failed pointing and defective flashing can direct water into the structure. A problem that appears mainly in winter, accompanied by condensation on glazing and mould in cold areas, may instead be linked to ventilation, heating patterns and thermal bridging.
Do not overlook plumbing. A slow leak from a shower tray, bath waste, radiator pipe or concealed supply pipe can cause damp without any connection to the weather. Water damage below a bathroom or kitchen should be treated as a priority, particularly where ceilings are stained, sagging or soft to touch.
Use a moisture meter carefully
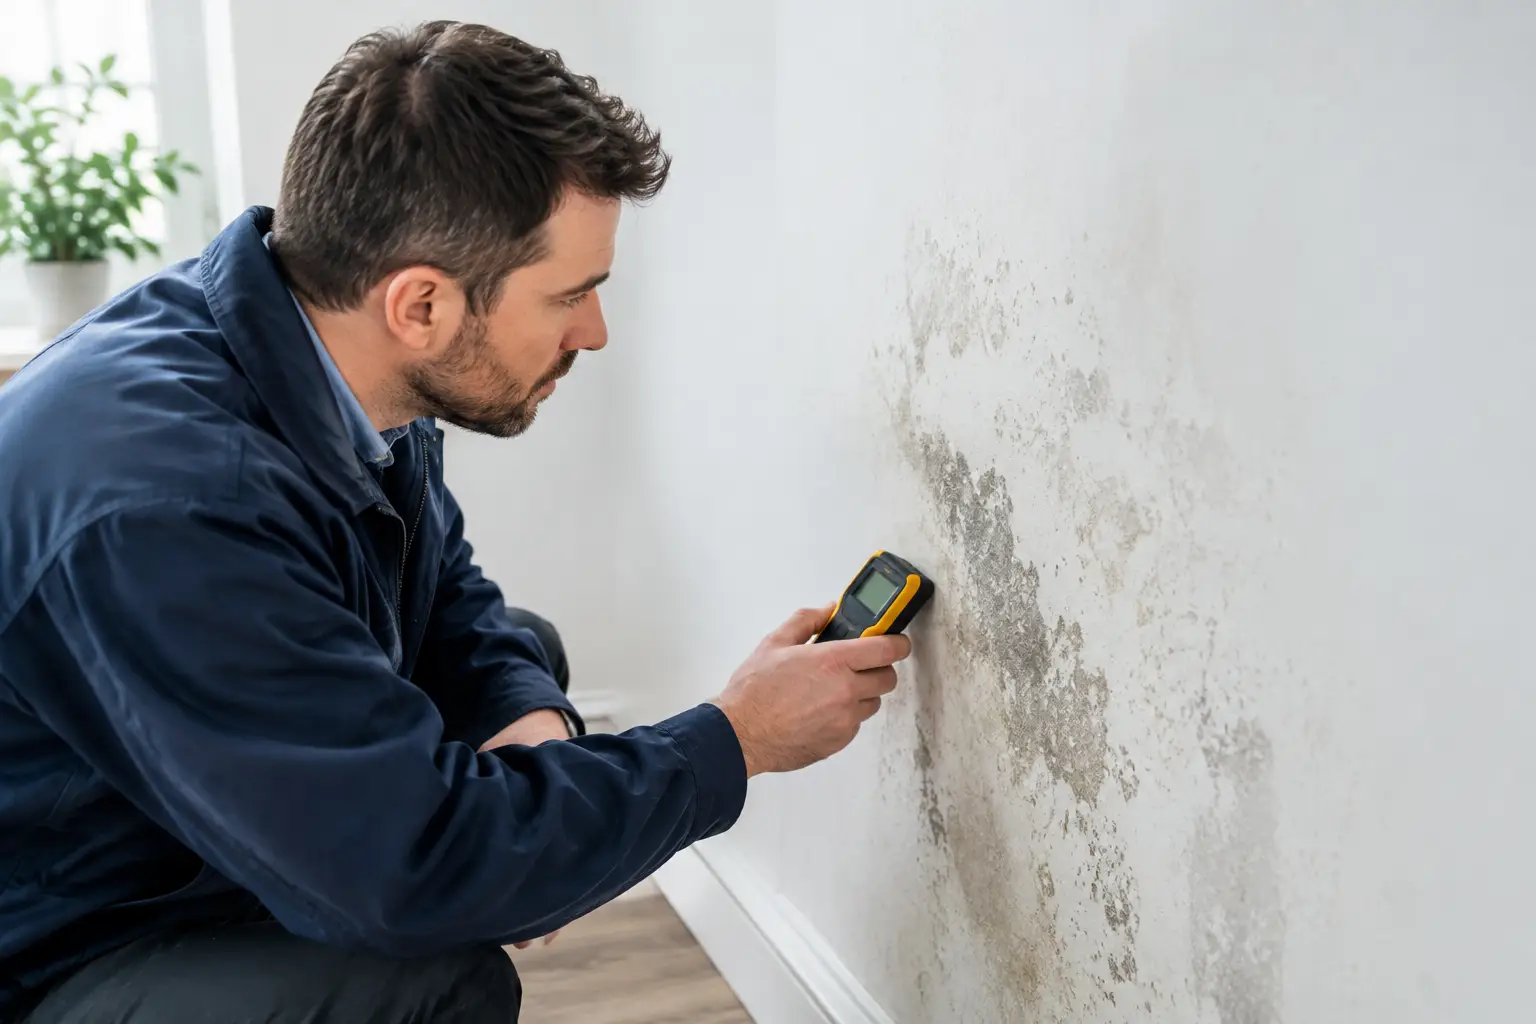
Handheld moisture meters can be useful screening tools, but they are not a diagnosis. Most common meters measure electrical conductivity rather than the actual moisture content of a wall. Salts in plaster, metal fixings, foil-backed insulation, pipes and some wall finishes can all produce elevated readings.
Use a meter to compare several areas rather than relying on one number. Take readings from the affected section and from a similar-looking, apparently dry area nearby. Test at different heights and note the material being tested. A consistent pattern can support further investigation, but it cannot confirm the source of moisture.
This is especially relevant in older properties. Solid walls, lime plaster, previous repairs and historic salt contamination can all complicate readings. Applying a damp-proof treatment solely because a meter reacts at skirting level is a costly mistake if the true problem is a leaking gutter, an external ground level that is too high or poor sub-floor ventilation.
Inspect the outside of the building
Many damp issues begin externally, so the inspection should not stop at the internal stain. From ground level, assess the roof covering for slipped, cracked or missing tiles and look for damaged flashing around chimneys, dormers and abutments. Check whether gutters are overflowing, joints are leaking or downpipes are discharging too close to walls.
Examine brickwork, render and pointing for open cracks, failed seals around windows, defective cavity trays and vegetation that may be holding moisture against the wall. Pay attention to the ground outside. Soil, paving, decking or paths that bridge a damp-proof course can allow moisture to bypass its intended protection. As a general rule, external ground levels should sit well below the damp-proof course, although older buildings may not have a visible modern course and need a more considered assessment.
Where the damp is high on a wall or associated with a chimney, roof-level inspection may be required. This should be carried out safely. Climbing ladders or walking on roofs without appropriate equipment is not a sensible way to investigate a defect.
Look for condensation and ventilation problems
Not all damp is caused by water entering through a defect. Everyday moisture from showers, cooking, occupants and clothes drying can settle on cold surfaces when ventilation and heating are inadequate. Modern improvements can make this more likely if draught reduction has been carried out without providing suitable extraction or background ventilation.
Check that bathroom and kitchen extractor fans actually discharge outside and run effectively. Trickle vents should not be permanently closed where they are needed for ventilation, and blocked air bricks should be investigated, particularly in properties with suspended timber floors. Keep internal doors open after bathing where possible, use lids when cooking, and avoid drying large amounts of laundry in unventilated rooms.
These measures can reduce condensation, but they will not fix a failed roof flashing or leaking pipe. Equally, increasing ventilation alone may not resolve mould where a cold bridge is creating an unusually cold surface. The cause needs to be established before deciding on the repair.
Use thermal imaging to find hidden cold and wet areas
Thermal imaging is a valuable diagnostic tool when used by a competent surveyor alongside visual inspection and moisture testing. It can identify temperature differences across walls, ceilings and junctions that may indicate heat loss, missing insulation, air leakage, thermal bridging or possible moisture-related cooling.
A thermal image is not proof of damp by itself. A cold area may simply be an uninsulated section of wall, while a wet surface can appear cold because moisture evaporates and draws heat from the material. Conditions also matter: meaningful surveys are normally carried out when there is a sufficient temperature difference between inside and outside.
Used correctly, thermography helps focus the investigation without unnecessary opening-up works. It can be particularly useful in flats, extensions, converted lofts and newer homes where concealed construction details affect heat and moisture movement.
Know when a professional damp survey is needed
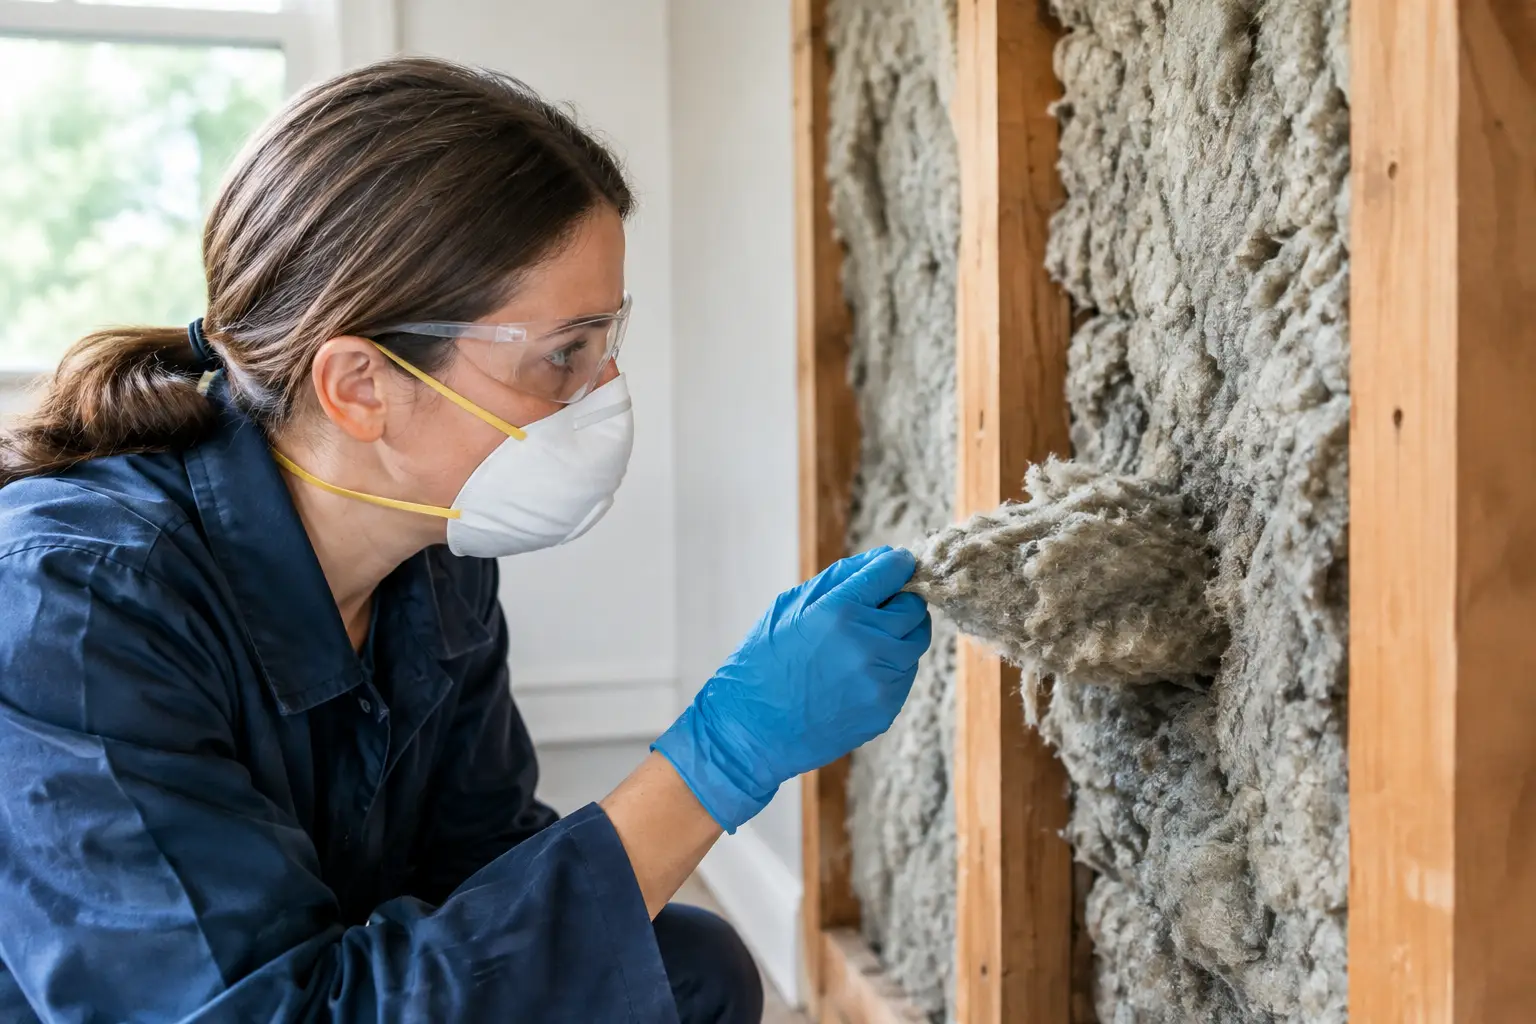
Professional input is advisable where staining keeps returning, timber feels soft, plaster is deteriorating, mould is widespread, or a property purchase depends on understanding the scale of repairs. It is also sensible before accepting a contractor’s recommendation for chemical damp-proofing, tanking or extensive replastering.
A thorough survey should consider the whole building rather than just the internal symptom. That includes roof coverings, rainwater goods, walls, openings, ground levels, ventilation, sub-floor areas where accessible, plumbing risks and the likely construction of the property. The report should explain the probable cause, the urgency of the defect and practical repair recommendations, with repair-cost awareness where possible.
For a buyer, this evidence can support negotiations or help prevent an unexpected repair commitment after completion. For an owner or landlord, it provides a clearer maintenance plan and avoids spending money on cosmetic work that will fail again. HICH LTD’s building diagnostics and thermographic inspections are designed to identify defects in this wider context, not merely record a moisture reading.
Avoid the common quick fixes
Painting over a damp patch, applying mould spray repeatedly or installing a dehumidifier may improve appearances temporarily, but none addresses defective building fabric or a plumbing leak. Dehumidifiers can be helpful while a repair dries out, and mould treatments have their place after the moisture source is controlled. They should not be mistaken for a permanent cure.
Be cautious with broad claims that every low-level wall needs an injected damp-proof course. Rising damp does occur, but it is less common than many property owners are led to believe, and its diagnosis requires careful assessment. Older buildings in particular need repairs that suit their construction, including breathable materials where appropriate.
A damp problem becomes manageable when it is investigated methodically. Photograph changes, note weather conditions, test sensibly and look beyond the room where the stain appears. The most valuable next step is the one that identifies the water path and gives you confidence that the repair will last.